Replays#
Warning
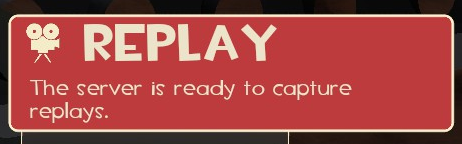
Replays only work on servers that support them. The game will tell you when loading in to a match if this is the case:
Also look for ![]() in the serverlist:
in the serverlist:

Offline games and servers you start from the main menu do not have replay support.
Creating a replay#
Servers supporting replays will show this option after death:

Press F6 while alive to record and save a replay after death.
Press F6 after death to save your life as a replay.
Viewing Replays#
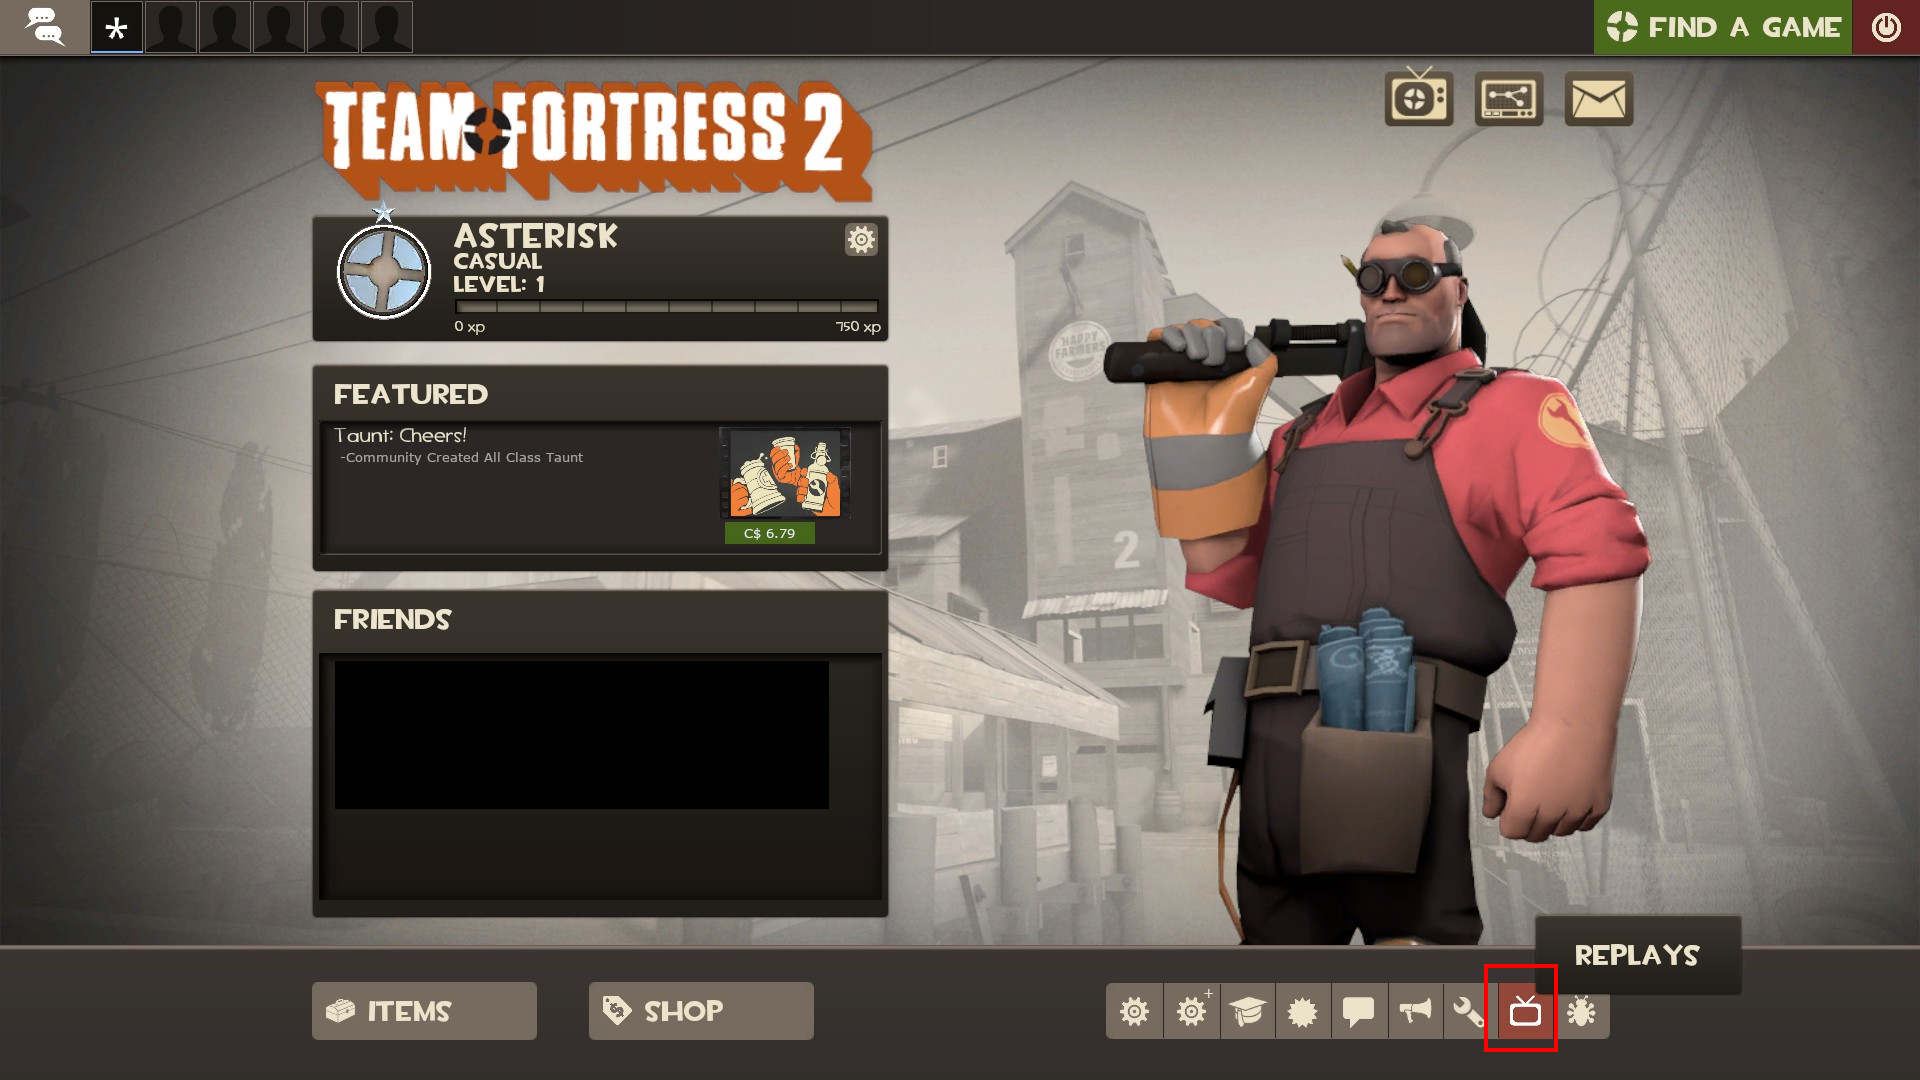
Replays can be viewed by pressing the Replays button on the main menu (the TV).
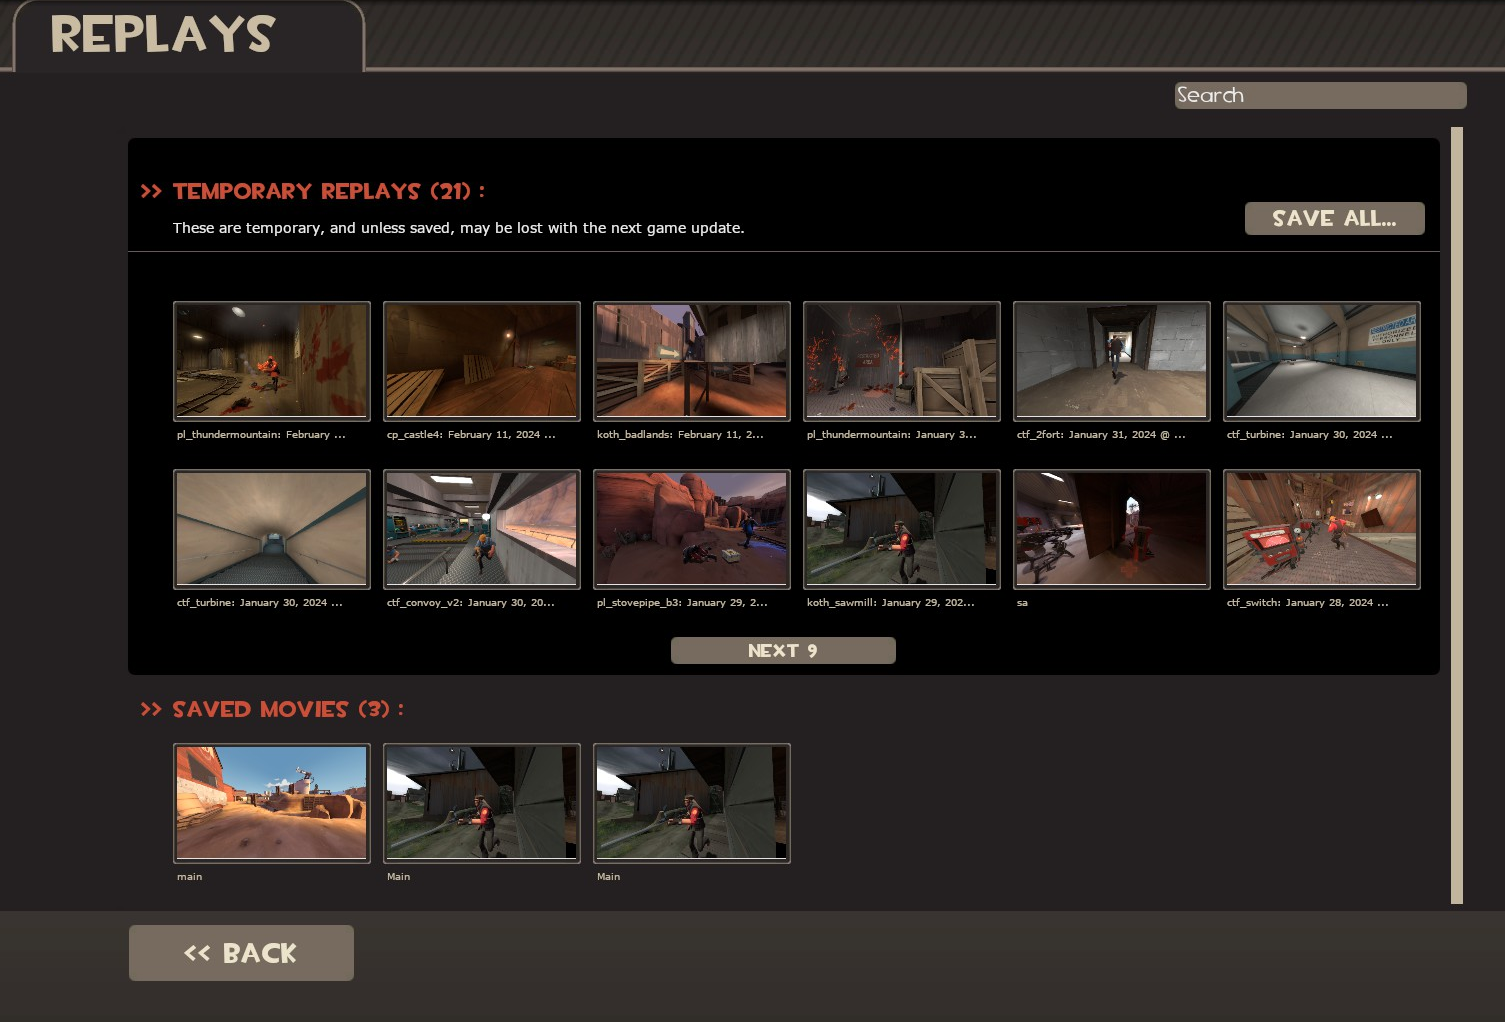
The Replay Editor will show off your replays and saved movies.
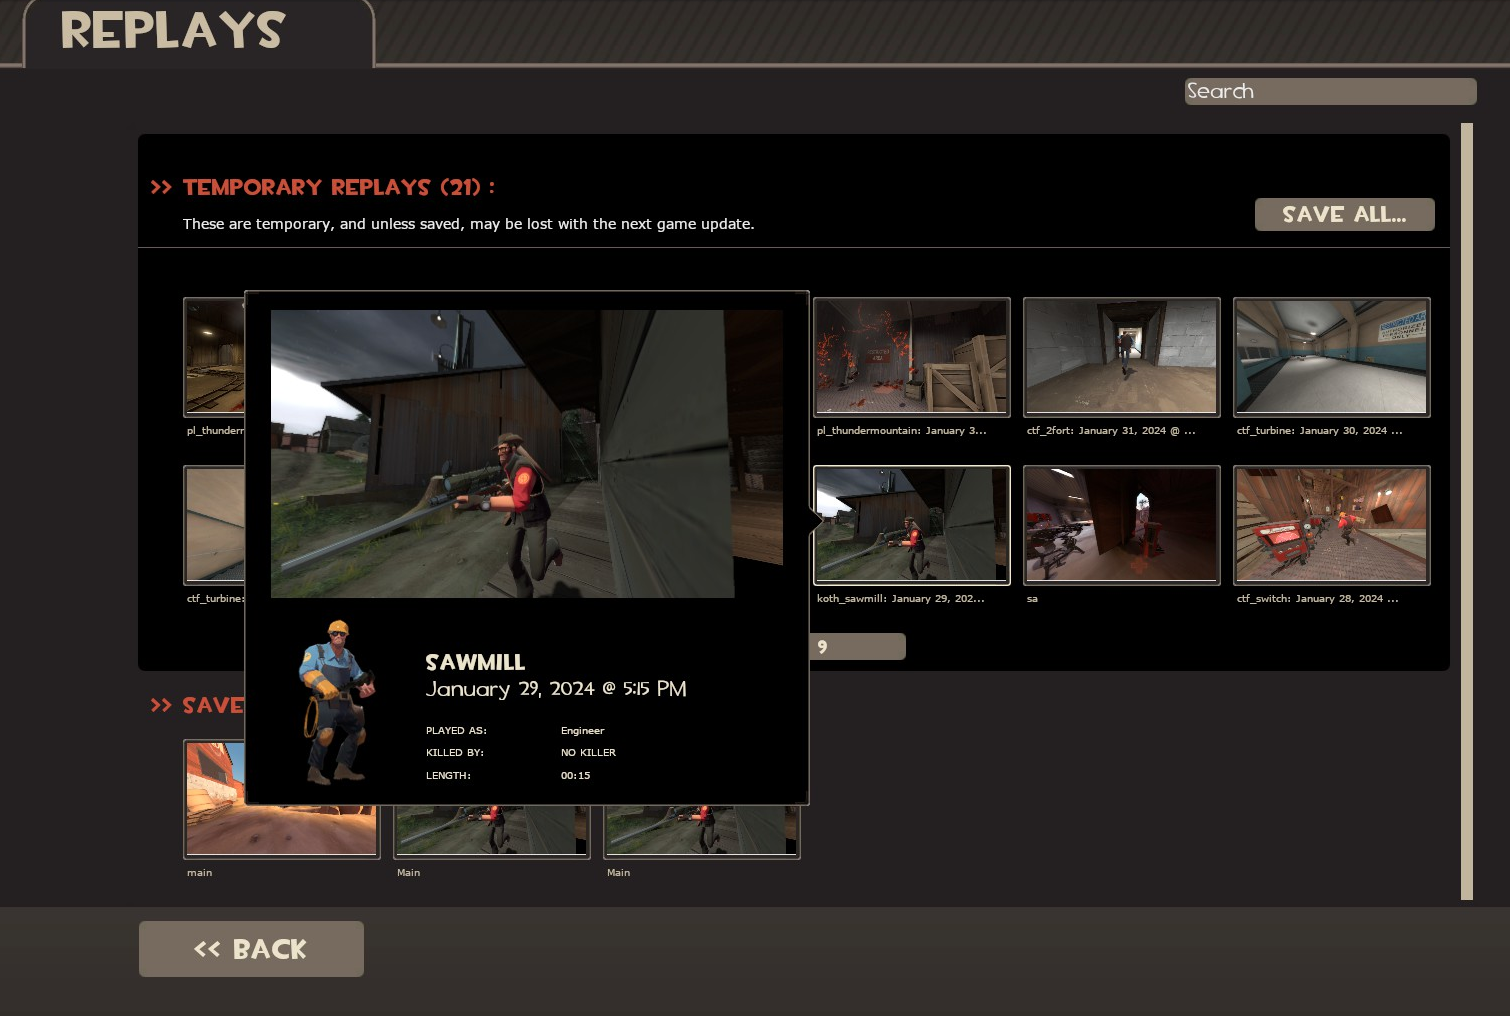
Hovering over a replay will show more info:
Clicking on a replay offers a few options:
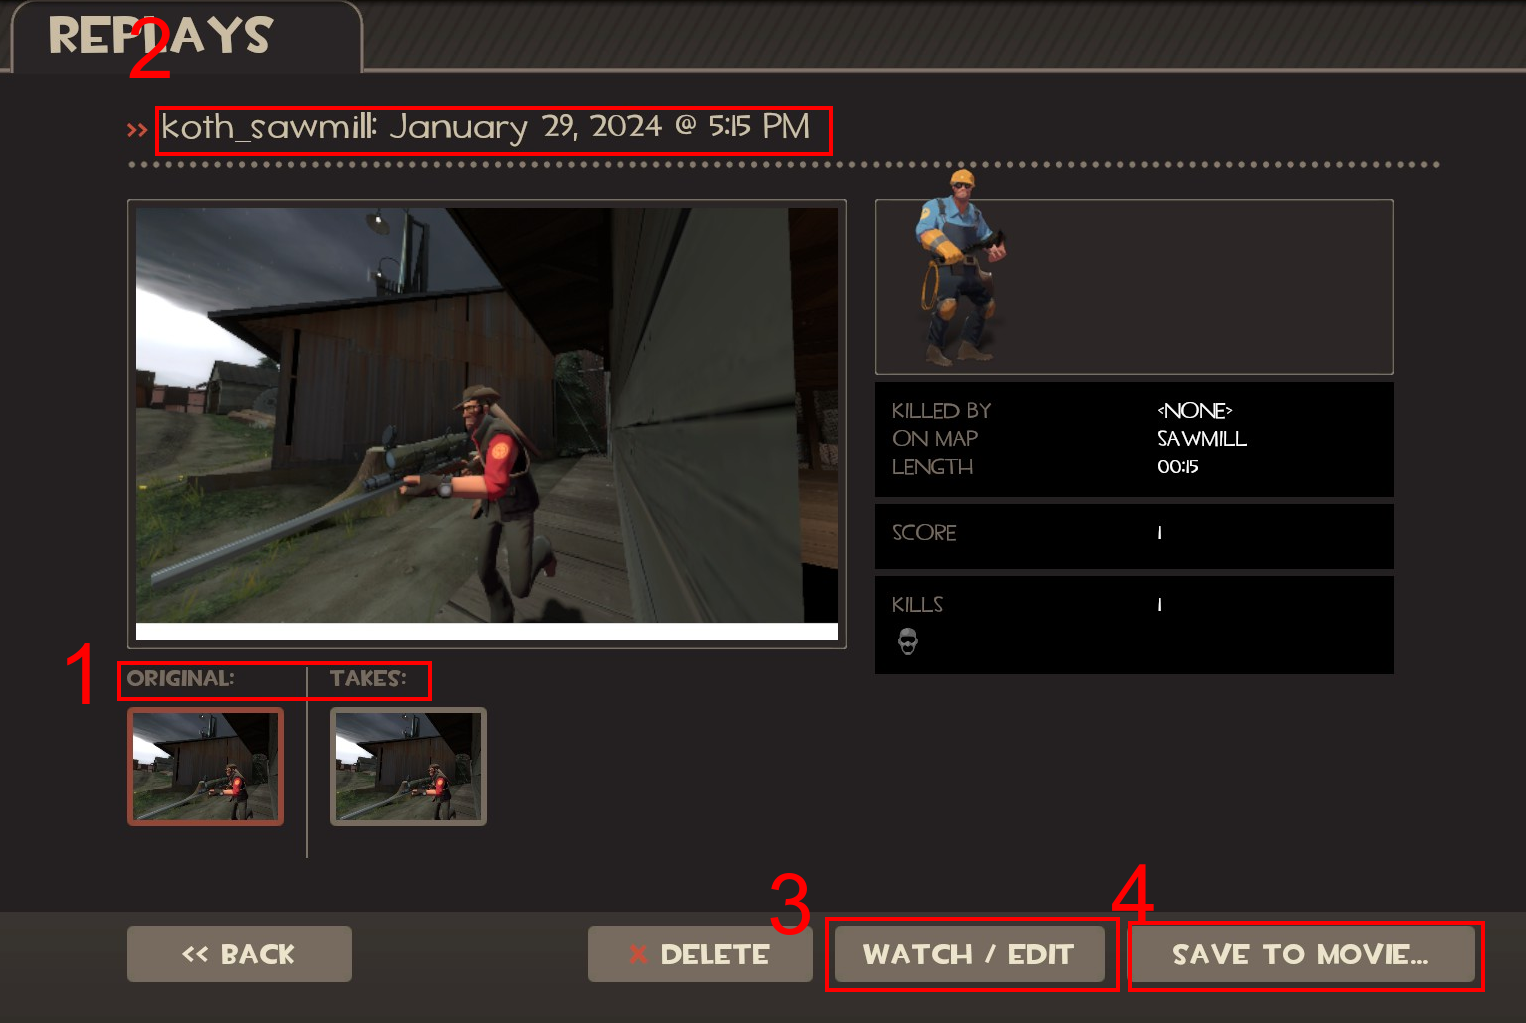
- Originals and Takes (1)
- Replay Title (2)
- Watch/Edit (3)
- Save To Movie (4)
- The original replay and any takes you've made.
- This can be clicked on and edited.
- View your replay in the Replay Editor.
- Export your take (select a take or the whole movie first).
You can also see stats like who you played as, movie time, map name, kill count and classes killed.
How does this replay system work?
These replays need to be exported because they are not videos. They basically load up the map, and have the demo player recreate your (and others') exact actions (what it's really recording).
Editing Replays#
Once the replay loads, the prompt on the screen will tell you you can press Space to pause the replay.
You will see something like this (Credit: TF2 wiki):

In the center you have, from left to right:
- In Point (1)
- Rewind to Start (4)
- Rewind by 10 sec. (2)
- Fast Forward (3)
- Skip to end (5)
- Out Point (6)
- Set the start of a take. (Space)
- Rewinding is different than fast-forwarding and requires reloading the demo, so you can only rewind through set intervals.
- Click and hold to fast forward, the fast forward will slowly get faster. Hold Shift to fast forward slowly, Alt to fast forward quickly.
- The start of your take or your movie.
- Of your take or your movie.
- Set the end of your take.
Warning
For the rest of this guide it's important to state that everything you do here is saved. Every viewpoint change, timescale edit, camera movement is all recorded.
Along the left are the icons of every single person on either team, clicking on the icon changes to their viewpoint.
Along the right you can change the speed (timescale) and set a third-person, first-person, or free camera.
From the Wiki: The Free Camera
This is probably one of the most powerful tools within the replay editor. Using the free camera only looks good if you know how to use it, and in which environments you are using it in.
Large maps are great for moving the camera around and showing off the battlefield. Using the Free Camera in small maps or enclosed spaces would work well if you keep the camera still, or use slow moving speeds.
You can change the options of your Free Camera by clicking on the Free Camera Icon, and moving the sliders with the option that you wish to change. You can also zoom using your mouse's scroll wheel.
-
Acceleration: This option changes the velocity of your camera movements. Will they be stiff or soft? If you want soft movements, lessen the acceleration. Stiff camera movements are applied if you add more acceleration.
-
Speed: This option changes the speed of your camera. You can make the camera move faster or slower, depending on where you move the sliders and which option you want.
-
FOV: This option allows you to change the Field of View of the camera. You can make the field of view either narrow, or wide. Experimenting with this tool can give your machinima a little bit more definition than a regular In-game field of view.
-
Rotation Filter: This option changes how hard or how soft your camera rotations look. The more you filter the rotation, the smoother it is. This option is also a very important factor to creating machinima. The more unfiltered the rotation is, the more it feels like a spectator mode camera.
Once you're satisfied, head over to the menu at the top and choose Save or Save As..., then enter a take name.
Exporting Replays#
Credit for parts of this guide goes to boXy, Zoey Fox (ZFox) and Goluboch.
Platform-specific steps#
Video demonstration
Video by ZFox:
First, you will need to download QuickTime. Use the typical install. You need this to export replays, as they are in MOV format.
Reboot your PC and launch TF2.
I can't hear any audio or voicelines!
This is either due to Steam or QuickTime (usually QuickTime). Try the solutions menationed in this Steam discussion. If those solutions fail, uninstall QuickTime and see if that helps. You can't export replays without it, so you'll need to figure something out for that (or just play TF2 on native Linux, which uses WebM).
No platform-specific steps here, just ensure that you have a media player of some kind installed, as by default TF2 uses the WebM codec on native Linux.
Exporting a take#
From the Wiki: Advanced Options
Before rendering your video, you have multiple choices to choose from to set up the rendering process. The resolutions you can choose from are as follows:
- 480p (720 x 480 x 23.976)
- 720p (1280 x 720 x 23.967)
- 1080p (1920 x 1080 x 23.967)
- Web (320 x 240 x 15)
- iPhone Horizontal (960 x 640 x 23.976)
- iPhone Vertical (640 x 960 x 23.976)
You can choose from different video qualities that include Draft, Standard, High, and Maximum. Draft is the lowest quality, and can be used for a smaller file-size and quick rendering, but does not look that great. Standard is known to be the medium level quality. This is the quality set by default, and has a little bit larger of a file-size than the Draft quality. High quality is one step above Standard, and has a medium-large file-size. Maximum has the largest file-size and takes the longest to render.
When you click on the advanced options tab, you can see three more changeable options. There are two available codecs to select. The first one is "Faster, Larger File (MJPEG-A)." This codec has faster rendering, but a larger file-size. The next one is "Slower, Best Quality (H.264)." This one is set by default, and has the best rendering quality, but is slower than the other codec. You can also move a slider to change the Motion Blur quality. You can move another slider that changes the Render Quality, and changing this slider does affect the file-size. The last advanced feature within this tab is to check off a box called "Export raw TGA's/WAV". This option saves a huge amount of TGA's and a WAV file into the games directory. You can than use these files into a program called Virtual Dub, and compile all of the pictures with the WAV file to make your video. Using this method takes a little bit more time, and is not recommended if you do not have any experience using this method.
Converting using ffmpeg
Credit: Goluboch
If you have ffmpeg, you can use the following command for converting your TGAs and wavefile into a video (run from your tf2 output folder):
ffmpeg -r 23.976 -start_number 0 -i frame_%04d.tga -i audio.wav -pix_fmt yuv420p -c:v libx264 blabla.mp4
23.976is the framerate for your movie-c:v libx264is the x264 codecblabla.mp4is your output file
You can also add -ss <time> to cut garbage in the start where it fast forwards the replay. If the fast forward thing happens on the 1st frame (frame_0000), divide 1/23.976 and you'll get the amount of seconds you need to cut from the start. Result: -ss 00:00:00.042
Raw encoding tends to be much faster then reencoding movies into MP4, but rendered raw files tend to take up to 15GBs of free space.
-
Select the take of the replay you want to render. You cannot render the whole film (the original).
-
Click Save to movie...
-
Enter your preferred settings.
-
Click Go.
-
Wait for your replay to finish rendering.
-
Once finished, click on your saved movie (in the Movies section) in the replay menu.
-
Click Export and choose the name and location to export to.
-
You should find your movie where you exported it to.
For Linux users
You may get a filesystem error when exporting your movie, that's okay.
You'll find your rendered movies in:
They will be in MOV format (Windows) or WebM format (Linux).
You will now want to open your final file in a video editor to cut out the first frame or two, which contain random rewinding garbage. You may need to convert the file first to do this. You can use ffmpeg (ffmpeg -i input.mov output.mp4) or CloudConvert.
Built with Material for MkDocs.